| Everything you need to know to get started with BitScope ! |
Getting Started with BitScopeThis quick start guide is to help get you up and running with BitScope quickly. For more information about BitScope, which model is best for you, what software to choose and how to use it in detail, please see our support page. What's included in the box ?Regardless of which model you choose, everything you need to get started is included. 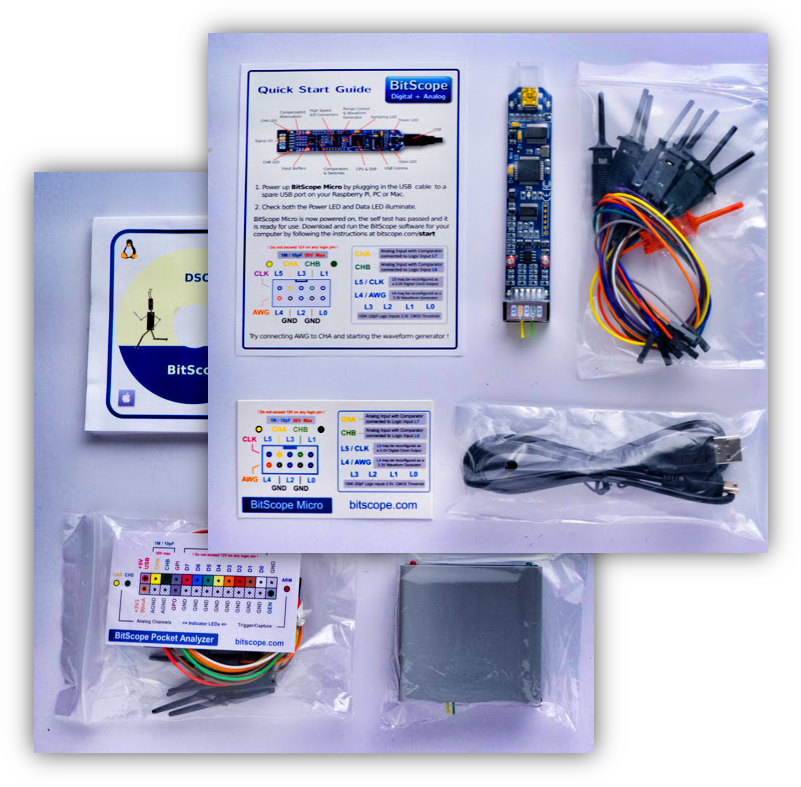
Some models such as BS05P come with additional accessories such as BNC probe adapters for use with oscilloscope probes and other accessories but these are not needed to get started. Check the online store home page for each product to see what is included. What about software ?There is a range of software available for BitScope which is compatible Windows, Mac and Linux including Raspberry Pi and other embedded Linux computers. The software may be downloaded free of charge and is compatible with all BitScope models. 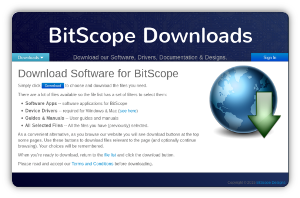 USB driver for your PC ?Some BitScopes require a driver to be installed. 1. Microsoft WindowsUSB BitScopes require the installation of a driver when used with Windows but this happens automatically when you first connect BitScope (if your PC is connected to the Internet). We support Windows 7, 8 and later editions. Older versions usually work (if the driver is properly installed) but we don't guarantee or support them. If you have problems installing the driver or getting up and running with Windows, please see our Windows USB Driver Installation Guide. 2. Apple Machintosh OSXBitScope works very well with Apple Macintosh too. USB models may require the driver to be installed. Your system may already have the driver installed but if not download the driver and run the installer. There are two versions to choose from, one for Mac OSX 10.9 and later and the others for 10.8 and earlier. Read this for more information. 3. Linux & Raspberry PiAll models BitScopes work very well with most variants of linux including Debian, Ubuntu, Mint, Fedora and derivatives including Raspbian Linux which is used by Raspberry Pi. There is no driver to install for Linux (drivers are pre-installed). Normally Linux "just works" but if your BitScope is plugged in and powered but not working, read this. If you're using Raspberry Pi have a look at bitscope.com/pi/start. Ready to Run !With the driver installed (if necessary), to get started you simply need to:
The software is packaged for each platform; just execute the installer. 1. Connect BitScopePlug the USB cable into a spare USB port on your computer. BitScope should be automatically detected and reported as connected by your operating system. 2. Start the SoftwareClick the POWER button on the BitScope DSO software to start. It will find and connect to your BitScope automatically. By default is displays analog Channel A (CH-A). If you touch CH-A input with your finger, the trace should move a litte. 3. Connect your Test Circuit Using the supplied test clips or oscilloscope probes (via a probe adapter), connect to your test circuit. Be sure to observe good grounding practice. You are now up and running and good to go! No test circuit handy?Use the waveform generator! Simply connect a loop-back from the waveform generator (see the keycard for BS05 or the keycard for BS10 for which pin this is) to CHA, start the BitScope DSO software and click the WAVE button (on the right). You don't need a loop-back wire, just use two of the included test probes and connect the grabbers together. A short piece of wire can be used as a simple bus, so you can see both analog channels and a few logic channels all connected to the AWG to try something more advanced like Mixed Mode. Using the SoftwareGetting started with BitScope is quick and easy but there's a lot to learn to get the most out of it !  The first thing to know is how to use the Act On Touch touchscreen interface. How it WorksAct On Touch simply means you can click, drag or select to adjust almost any parameter to change its value in real-time as the display updates or select built-in functions or related values via a (right-click) pop-up menu. This screenshot should give you the idea. Act On Touch makes using a mouse, trackpad or touchscreen easy. It works the same whether you use a PC, Mac or notebook, touch-screen Windows Surface or other tablet, the Raspberry Pi or even using an iOS or Android device via VNC. Once you learn how On Touch works you will up and running using BitScope effectively. We also recommend you read the BitScope DSO User Guide for full operational details. Tutorials & TroubleshootingWe highly recommend you watch the video tutorials to see BitScope in context including live demos of the software running on the Mac, Linux & Raspberry Pi. The tutorials focus on BitScope Micro but it's very similar for other models. We cover unboxing, powering up, software installation, connections, using oscilloscope probes, testing, diagnostics, programming and more. The videos are information packed (about an hour in total) so we've broken it down and indexed it for you if you want to pick out something specific. Still have problems? Please visit BitScope Support to contact us and find more information about BitScope. EL09A 03 Related Posts |
Copyright © 2023 BitScope Designs


